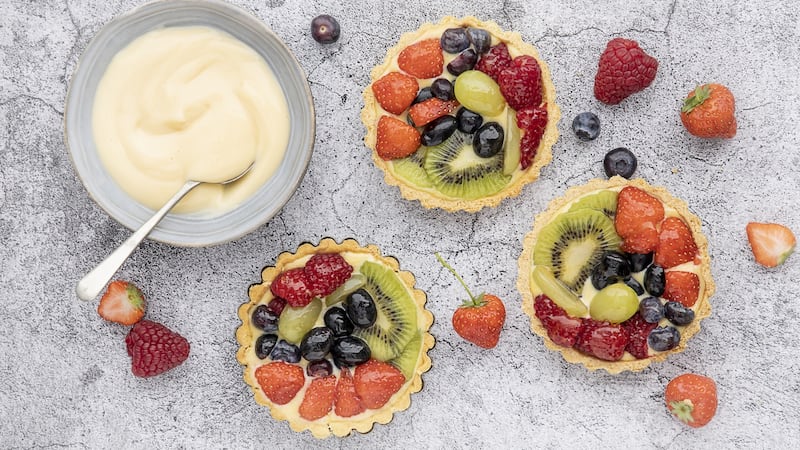
The sight of a homemade fresh fruit tart is enough to lift anyone’s spirits. The colourful fruit glistening under its shiny glaze, the crisp crumbly pastry and creamy filling combine to make them one of the most attractive and delicious desserts.
There are a few elements to making these fruit tartlets. Although none of the steps is especially difficult, you do need to give yourself plenty of time and they need to be started a few hours in advance.
It is always best to make pastry in the morning, when your kitchen is cooler. I like to get the pastry and crème patissière made the day before I need the tarts, leave them to chill in the fridge overnight, then assemble them at the last minute.
A pâte sucrée (also known as sweet pastry) is perfect for the base for these. It makes a rich, crumbly pastry which combines beautifully with the acidity of the fruit. Making a pâte sucrée pastry is a little different from making a shortcrust pastry. Shortcrust is made by rubbing butter straight into flour. It is delicious but can be a little difficult to work with, especially for thinly lining lots of little tart tins.
To make a pâte sucrée, the butter, sugar and egg yolks are worked into the flour on a cool work surface. As long as the pastry then has a good rest in the fridge, it is a little easier to use.
Use any colourful mixture of soft fruit you can get your hands on. Tinned peaches or apricots would be lovely if you can’t get fresh fruit.
FRUIT TARTLETS
Serves four
Ingredients
Pâte sucrée:
100g plain flour, sieved
50g butter, at room temperature, cut into small pieces
50g caster sugar
½tsp vanilla extract
2 egg yolks
Crème pâtissière:
2 egg yolks
30g caster sugar
1tsp vanilla extract
25g plain flour
150ml milk
Fruit topping:
150g any fruit (mixed berries, kiwi, grapes)
Glaze:
2tbsp apricot jam
Squeeze of lemon juice
Method
1 You will need 4 x loose bottomed tartlet tins (10cm).
2 To make the pâte sucrée: Place the sieved flour directly onto a cool work surface (ideally a cold marble slab, but if that's not possible, I briefly store the flour in the freezer to be sure it is cold). Create a well in the centre of the flour and add butter, sugar, vanilla and start combining the mixture using your fingertips. Next add the egg yolks and continue to mix quickly with your fingertips to work in all the flour from the sides until the dough is smooth. Wrap the pastry in clingfilm and refrigerate for one hour. On a lightly floured, cool work surface, roll out the dough to a thickness of 2mm. Cut large circles of pastry and use to line the tartlet tins. Refrigerate until firm before baking.
3 Line the pastry cases with parchment paper and fill with baking beans, then bake in the preheated oven at 180 degrees Celsius, or equivalent, for 10-12 minutes, until they are a golden biscuit colour. Remove from the oven, lift off the paper and beans, brush the pastry with leftover egg white and put back in the oven for a further five minutes. When cool enough to handle, carefully release the pastries from the tins and leave to cool on a wire rack.
4 For the crème pâtissière: Whisk the egg yolks and sugar together until pale, then whisk in the vanilla and flour. Scald the milk by heating it to just below boiling point in a saucepan. Gradually whisk the hot milk into the egg mixture. Return to the cleaned out saucepan and stir as you bring the custard up to a boil for one minute, then reduce the heat and allow it to thicken by stirring over a low heat for approximately 10 minutes (keep scraping around the base and edges of the pot with a wooden spoon to avoid lumps). Transfer to a bowl, cover and store chilled.
5 To assemble the tartlets: Divide the crème pâtissière between the baked and cooled tartlets. Arrange sliced fruits decoratively on top.
6 For the glaze, gently heat the jam, add a tablespoon of water (or lemon juice if the jam is very sweet). Brush the fruit carefully with warm (not hot) glaze, using a pastry brush.